Optimizing with Nuxt Image
Web performance optimization has always been a challenging but very interesting task for me, and with the introduction of the Core Web Vitals, things have never been simpler.
Of the three metrics that you would optimize for, Largest Contentful Paint (LCP) always proved to be the most difficult for me. LCP measures the loading speed of the largest element on a webpage, which is typically an image or video. A poor LCP score can negatively impact user experience and search engine rankings.
PageSpeed Insights is a popular tool for analyzing web page performance. It provides suggestions for improving page load times and optimizing the LCP metric. Some of the recommendations include compressing images, using modern image formats like webp, and optimizing images for different screen sizes using the srcset attribute.
In the initial rebuild of the Ogre Cave, following these recommendations gave me some pretty good results. I optimized my images for LCP by manually converting them to the webp format and creating multiple versions for different screen sizes using the srcset attribute.

The results were desirable but the process was not. It was unwieldy. It was time-consuming. And it was unsustainable for larger implementations.
I have a couple past and on-going projects were this was not even possible since the content creators and developers are not from the same pool of resources.
The Solution: Nuxt Image
Nuxt Image is a powerful image optimization module for Nuxt.js, which is the framework for building this site and a lot of my more recent projects. With Nuxt Image, I could easily optimize images for different screen sizes and formats, including webp. It automatically generates multiple versions of an image and serves the appropriate one based on the user's device and screen size.
Nuxt Image offers several cool tricks that can further optimize image loading speed. For instance, it provides lazy-loading, which loads images only when they become visible on the screen. It also supports progressive image loading, which displays a low-quality placeholder image first, then gradually loads the full-quality image in the background.
Installing Nuxt Image
Like most Nuxt module, installation is very straightforward. You can install as a dev dependency using yarn, npm or in my case pnpm.
pnpm i -D @nuxt/image-edgeYou then add it to the modules section in your nuxt.config:
export default defineNuxtConfig({
  // ...
  modules: ['@nuxt/image-edge']
  // ...
})
Using it is even easier since <nuxt-img> can be a drop in replacement for the <img> tag.
Using Nuxt Image
The true power of the module is however unlocked when you start using the props to your advantage. There's a complete list of all the properties and how to properly use the properties but these are a couple that I tend to use.
- Prioritize image loading with
preload. - Resize your static images with
widthandheight. - Resize your reactive images
sizes. This setups yoursizesandsrcsetin the generated<img>. - Reformat your images with
format. Dynamically convert your jpg to webp.
Results
While manually optimizing images can be a daunting task, using Nuxt Image simplifies the process and offers several cool tricks for further optimizing image loading speed.
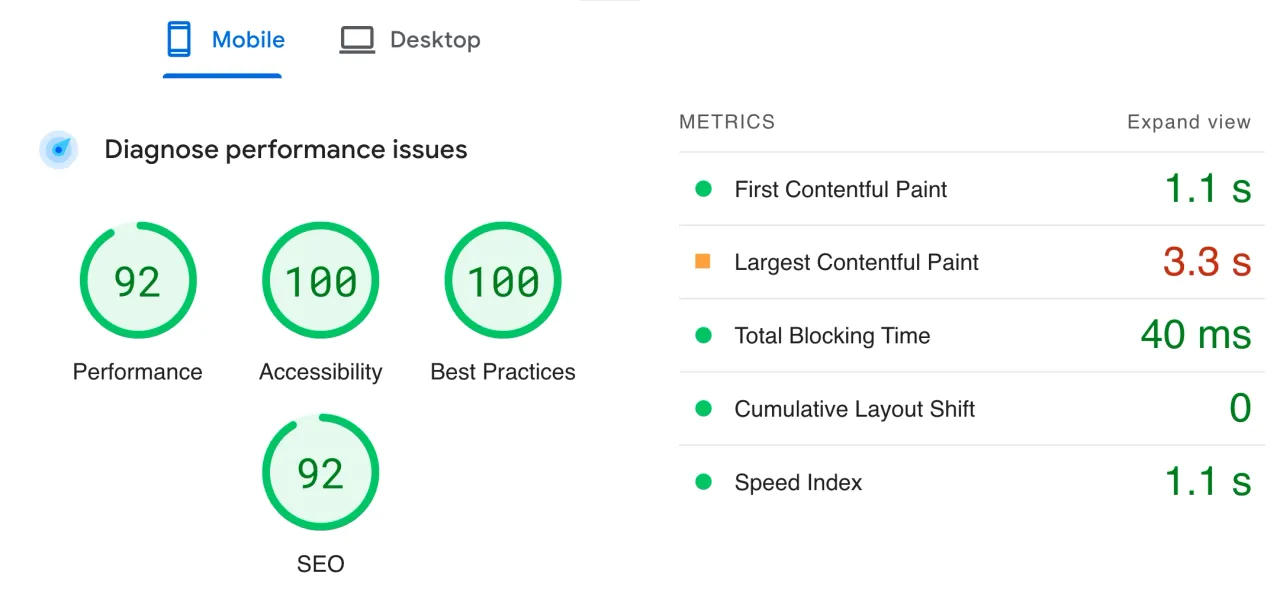
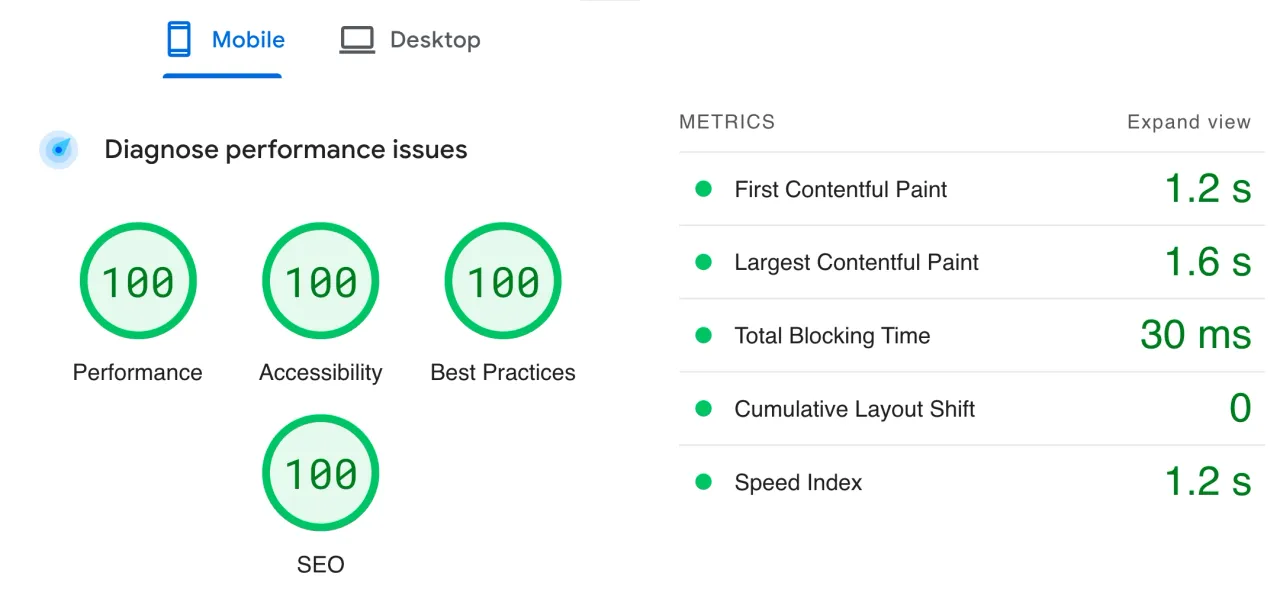
Refactoring Ogre Cave over the weekend to use Nuxt Image, not only simplified my code it also cleaned up my directory of all the manually generated images.
As an added bonus, the latest result of PageSpeed Insight came with some unexpected but very much welcome significant gain in Ogre Cave's Performance.

